How to Transfer Data from iPhone to iPhone
Transferring data from one iPhone to another has never been easier, especially with Apple’s enhanced migration tools. Whether you’re upgrading to the latest model or just switching devices, this guide will cover multiple methods to help you quickly and safely transfer your data, ensuring nothing is left behind.
Why Is Data Transfer Important?
Switching to a new iPhone should be exciting, not stressful. Ensuring that all your important data—photos, contacts, apps, and settings—moves seamlessly can help make the transition smooth and hassle-free.
Methods to Transfer Data from iPhone to iPhone
Here are the best ways to move your data from one iPhone to another. We’ll explore each method, including Quick Start, iCloud, iTunes, and Finder, to find the one that best suits your needs.
1. Using Quick Start (Recommended for Fast, Easy Setup)
Quick Start is Apple’s built-in tool that allows you to set up a new iPhone quickly by holding it close to your current device. Here’s how to use Quick Start:
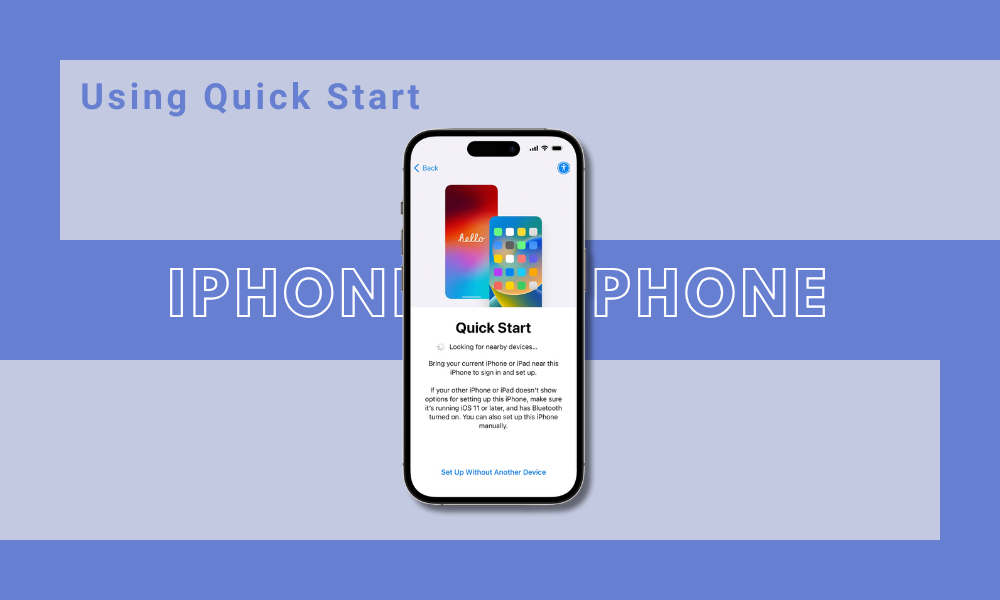
- Place Your Devices Together: Ensure both iPhones have enough battery. Place them close together and power on the new device.
- Wait for the Setup Animation: When the Quick Start screen appears on your old iPhone, tap “Continue” and wait for an animation to appear on the new iPhone.
- Scan the Code: Use the camera on your current iPhone to scan the code that appears on the new device.
- Follow On-Screen Instructions: After scanning, follow the prompts to set up Face ID or Touch ID.
- Transfer Data: Select “Transfer from iPhone,” and the data will begin migrating.
Pros: Fast and easy, perfect for those who have both iPhones nearby.
Cons: Requires both devices to be on iOS 12.4 or newer.
2. Transferring Data with iCloud (Ideal for Wireless Transfers)
iCloud is a powerful option, especially if you want to avoid cables and don’t have your old iPhone physically available. Here’s how to transfer data with iCloud:
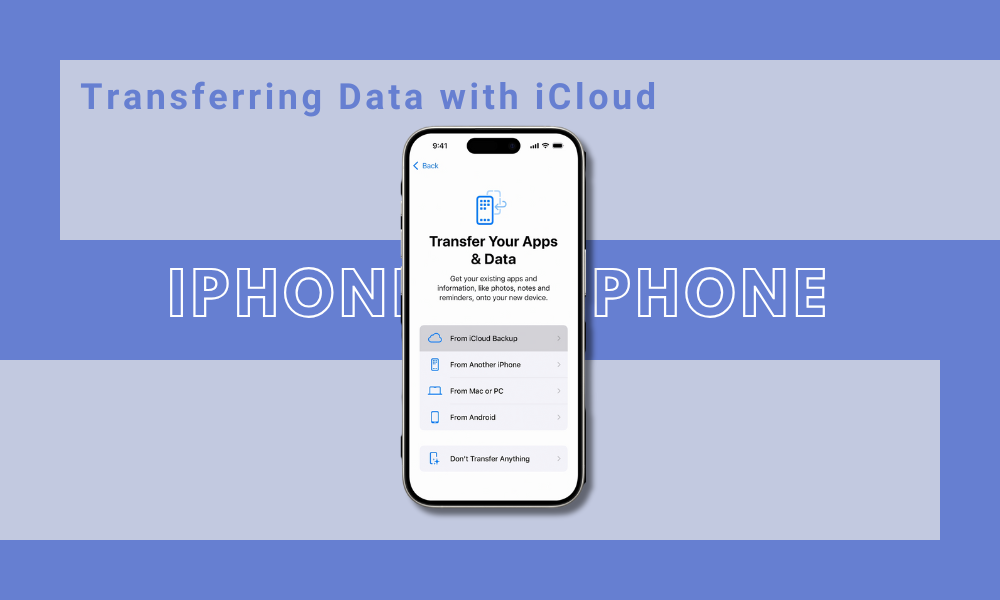
- Connect to Wi-Fi: Ensure both iPhones are connected to Wi-Fi.
- Back Up Your Old iPhone: Go to Settings > [Your Name] > iCloud > iCloud Backup, then tap Back Up Now.
- Set Up New iPhone: Once the backup is complete, turn on the new iPhone and follow the initial setup steps until you reach the “Apps & Data” screen.
- Restore from iCloud Backup: Select Restore from iCloud Backup, and sign in with your Apple ID. Choose the most recent backup, and wait for the data transfer to complete.
Pros: Wireless, works even if you don’t have both devices in hand.
Cons: Requires enough iCloud storage for a full backup; can take longer depending on the backup size.
3. Using iTunes or Finder (For Users with a Mac or PC)
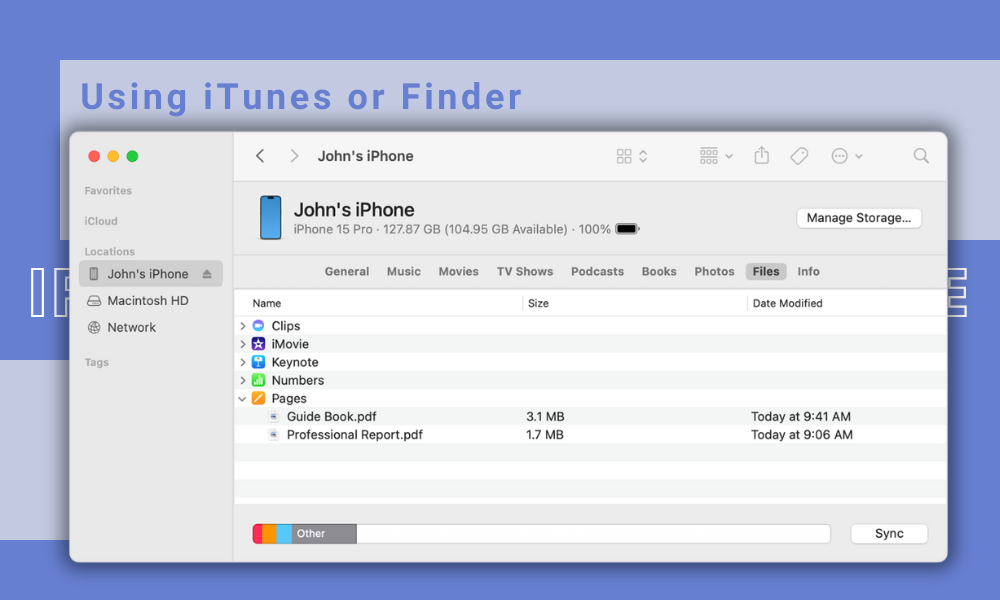
iTunes (or Finder on macOS Catalina and later) allows you to transfer data using a USB cable. Here’s a step-by-step guide:
- Connect Old iPhone to Your Computer: Launch iTunes or Finder, and connect your current iPhone with a USB cable.
- Back Up Your Device: Select Back Up Now and ensure the backup is encrypted if you want to transfer saved passwords and health data.
- Connect New iPhone: Once the backup is complete, disconnect your old device and connect the new iPhone.
- Restore Backup: In iTunes or Finder, select Restore Backup and choose the most recent backup to begin the data transfer.
Pros: Quick and secure; ideal for users with large amounts of data.
Cons: Requires a Mac or PC and a USB cable.
4. Using AirDrop for Select Files
If you only need to transfer certain files, like photos or documents, AirDrop is a great wireless option.
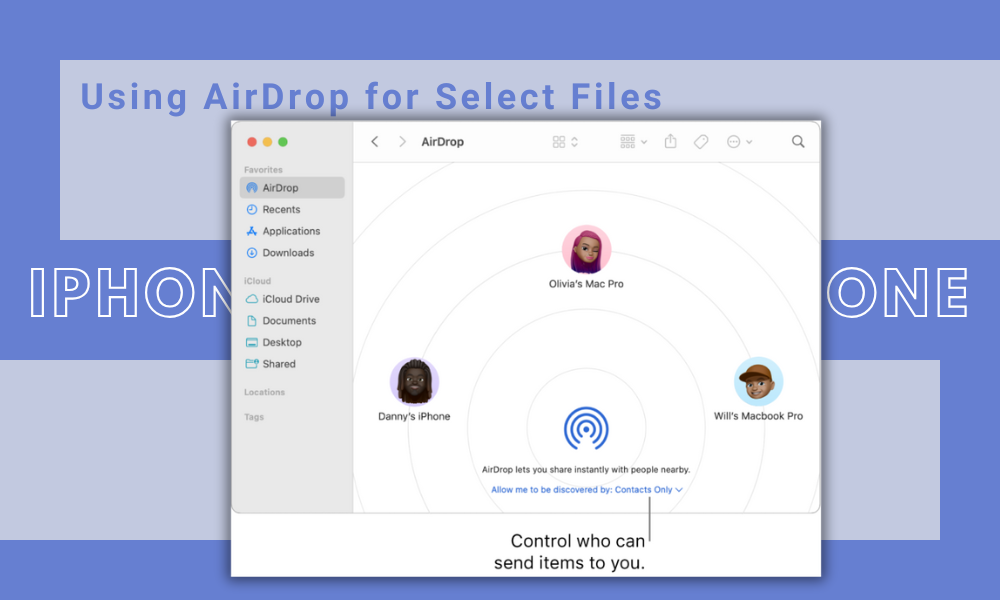
- Enable AirDrop: Open Control Center and ensure AirDrop is set to “Everyone.”
- Select Files to Transfer: Go to the Photos or Files app, select the items you want to send, and tap the Share icon.
- Choose the Receiving Device: Select your new iPhone from the list, and confirm the transfer.
Pros: Quick for transferring specific files.
Cons: Not suitable for full device migration.
Tips for a Smooth Data Transfer
- Update to the Latest iOS Version: Before starting, make sure both iPhones are updated to the latest iOS version. This ensures compatibility with Quick Start and other transfer methods.
- Clear Unnecessary Data: Removing apps or files you no longer need can speed up the transfer.
- Backup Regularly: Having an updated iCloud or iTunes backup ensures that you don’t lose data, even if something goes wrong during the transfer.
Common Issues and Troubleshooting
What to Do If Transfer Fails
If the data transfer fails, try these troubleshooting steps:
- Restart Both iPhones: This can help reset the connection.
- Check Your Internet Connection: For iCloud transfers, ensure your Wi-Fi connection is stable.
- Free Up Storage Space: If you’re using iCloud, ensure there’s enough space for the backup.
Avoiding Duplicate Contacts
After the transfer, you may notice duplicate contacts or apps. You can easily manage these by using the Contacts app to merge duplicates or uninstall any redundant apps.
Call to Action: Enjoy Your New iPhone with Everything Transferred!
Switching to a new iPhone can be an exciting experience, especially with all your data transferred and ready to go. Follow the steps outlined in this guide to ensure a smooth, stress-free migration.
If you found this guide helpful, don’t forget to check out our other iPhone tips and tricks or sign up for our newsletter to stay updated on the latest iOS features and mobile technology news.

